- ZHUHAI JIALI HARDWARE CO.,LTD.
- 0760-85885164

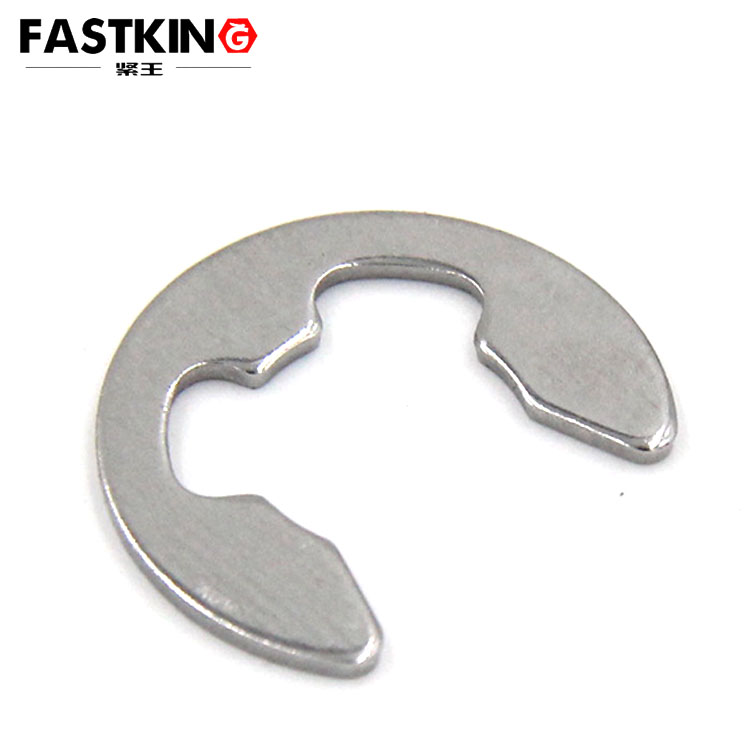
Hole Type Elastic Retainer Ring DIN472
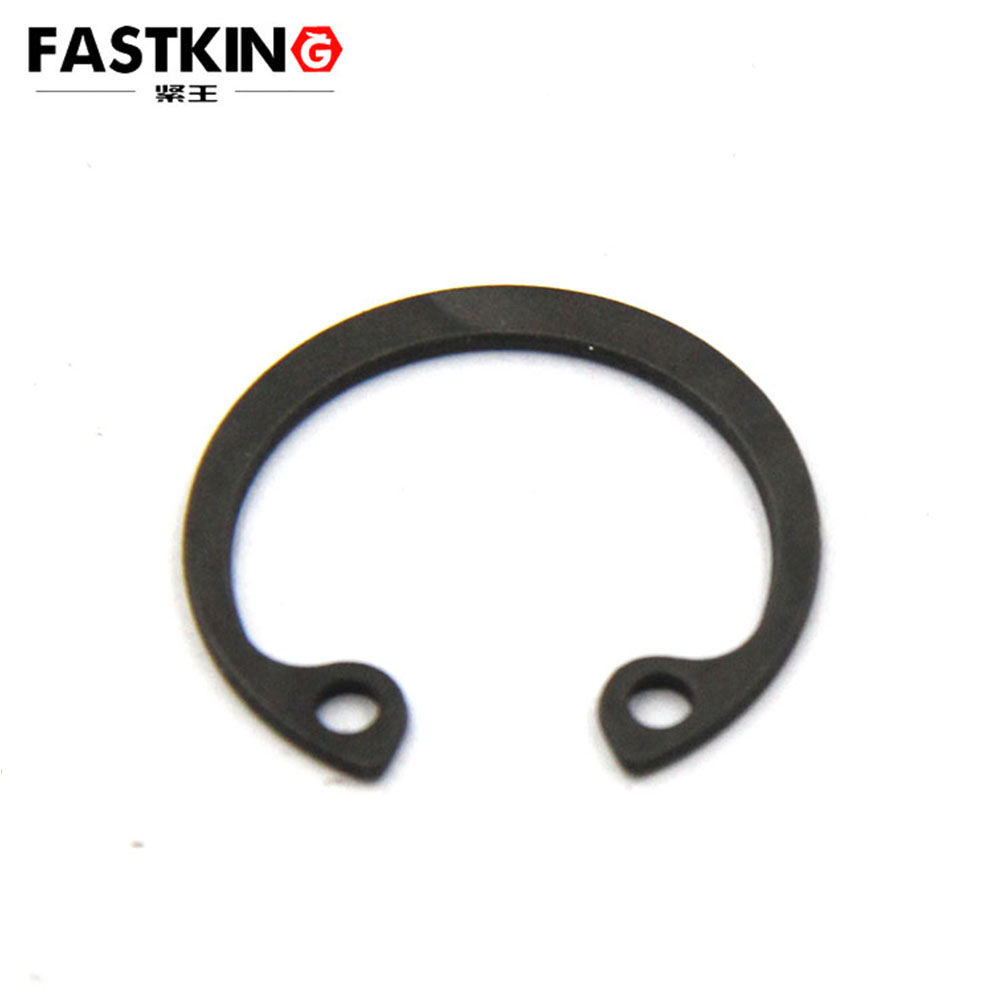
- Product description:Hole-type elastic retainer rings are installed inside circular holes and used to fix the axial movement of components. The outer diameter of such retainer rings is slightly larger than the diameter of
As the most widely used category in the family of hole-type circlips, the hole-type elastic retainer ring (also known as "hole-type elastic circlip," compliant with GB/T 893.1) not only undertakes core axial retention duties in scenarios such as light household appliances and automotive components but also owes its reliable internal hole axial retention to its unique installation logic of "interference fit + tool-driven operation." Leveraging its design feature of "outer diameter slightly larger than the mounting hole diameter," it achieves elastic deformation through specialized tools and finally locks firmly into the internal groove of the circular hole, making it a model fastener that balances "installation convenience" and "retention stability."
Core Installation Principle: Synergy of Interference Fit and Elastic Deformation
The installation of the hole-type elastic retainer ring is based on an "interference fit design"—its outer diameter in the free state is 0.1-0.5mm larger than the diameter of the circular hole to be mounted (the specific difference is adjusted according to the hole diameter specification and material elasticity; for example, the outer diameter of a retainer ring matching an M10 circular hole is typically 10.2-10.3mm). This slight interference ensures that after the retainer ring snaps into the internal groove of the circular hole, it fits tightly against the groove wall by its own elastic restoring force, forming a gap-free retention structure and preventing the retainer ring from loosening due to vibration during equipment operation.
The key to realizing interference fit installation lies in the "controllability of elastic deformation." Hole-type elastic retainer rings are mostly made of materials with high elastic limits, such as 65Mn spring steel and 304 stainless steel. Under the external force of a specialized circlip plier, they can undergo uniform radial contraction deformation—when the plier jaws clamp the plier holes of the retainer ring, the retainer ring contracts from an "expanded annular shape" (in free state) to a "reduced annular shape." At this point, its outer diameter becomes smaller than the circular hole diameter, allowing it to be smoothly inserted into the hole. Once the retainer ring reaches the pre-designed internal groove position, releasing the circlip plier causes the retainer ring to revert to its original shape by elasticity; its outer diameter rebounds to a size slightly larger than the circular hole, eventually locking into the internal groove to complete axial retention fixation. This process avoids the complexity of rigid retainers requiring precise size matching and provides stronger load-bearing capacity than plastic retainers.
Practical Key Steps: Precise Control of Tool Selection and Operation Details
The installation of hole-type elastic retainer rings has strict requirements for tools and operation procedures; deviations in any link may lead to installation failure or retainer ring damage.
First, selection of specialized circlip pliers: Appropriate plier types must be chosen based on the retainer ring’s plier hole size and installation space. For scenarios with small hole diameters (≤15mm) and narrow spaces (such as the end cover hole of a micro-motor), a long-nose internal straight-jaw circlip plier is suitable—its slender jaws can easily extend into small holes and accurately insert into the retainer ring’s plier holes. For scenarios with larger hole diameters (≥20mm) and thicker retainer rings (such as the housing hole of an automotive transmission), a heavy-duty internal straight-jaw circlip plier is required; its stronger clamping force ensures sufficient contraction deformation of the thick-walled retainer ring, avoiding operational errors caused by jaw slippage.
The installation process must follow the "three-step precision method":
- Pre-inspection: Confirm that the size (width, depth) of the internal groove in the circular hole matches the retainer ring (e.g., if the retainer ring thickness is 1mm, the internal groove width should be 1±0.05mm). Meanwhile, clean burrs and oil stains from the inner wall of the circular hole and the internal groove to prevent impurities from affecting the retainer ring’s fit.
- Plier adaptation: Fully insert the jaws of the circlip plier into the two plier holes of the retainer ring, ensuring tight engagement between the jaws and the plier holes to avoid falling off during clamping.
- Contraction and installation: Gently apply force to clamp the circlip plier and observe the retainer ring’s contraction state—when the retainer ring’s outer diameter shrinks to slightly smaller than the circular hole diameter, smoothly place it into the hole and push the retainer ring until it snaps into the internal groove. At this point, releasing the circlip plier will result in a slight "click" sound as the retainer ring rebounds, indicating successful locking. Finally, gently push the edge of the retainer ring to confirm no looseness, and the installation is complete.
Two common mistakes should be avoided during installation:
- Over-clamping: Excessive force that causes the retainer ring’s contraction to exceed its elastic limit will result in plastic deformation. Even after installation, it cannot rebound to the normal outer diameter, losing its retention effect.
- Misaligned installation: If the retainer ring is not fully aligned with the internal groove before releasing the pliers, it may get stuck on the inner wall of the circular hole instead of the groove—this risks retainer ring detachment and component displacement during equipment operation.
Scenario-Adapted Installation: Flexible Adjustments Based on Application Requirements
The installation method of hole-type elastic retainer rings must be adjusted according to the characteristics of specific application scenarios to maximize retention reliability while adapting to scenario needs.
- Light household appliance scenarios (e.g., the motor end cover hole of a washing machine): Retainer rings here are thin (0.5-0.8mm) and have good elasticity. Small manual circlip pliers can be used for installation, with clamping force just enough to fit the retainer ring into the hole—this avoids damaging the retainer ring or the plastic material of the end cover due to excessive force.
- Automotive component scenarios (e.g., the brake cylinder hole): Retainer rings here are mostly made of high-strength spring steel, and installation space may be limited by surrounding components. Circlip pliers with rotatable jaws can be used to adjust the jaw angle to fit narrow spaces. After installation, a feeler gauge should be used to check the fit gap between the retainer ring and the internal groove (ensuring ≤0.02mm) to prevent displacement during braking.
- High-precision scenarios (e.g., the fuel injector hole of an aircraft engine): Retainer ring installation must be conducted in a clean environment. Precision circlip pliers with anti-slip handles are used to avoid contamination of the retainer ring by hand sweat. After installation, a microscope should be used to observe the retainer ring’s rebound state, ensuring no local deformation to guarantee the accuracy of fuel injection.
In addition, details should be noted when installing retainers of different materials: Stainless steel retainers have smooth surfaces, so plier jaws must be kept clean and free of oil to prevent slippage; spring steel retainers experience slight elasticity reduction in low-temperature environments. If installing in winter or low-temperature workshops, the retainers should first be placed in a room-temperature environment for 10-15 minutes to restore normal elasticity before installation, avoiding installation difficulties caused by insufficient elasticity.
The installation process of the hole-type elastic retainer ring is a perfect combination of "design principles" and "practical details"—the interference fit design ensures retention reliability, while specialized tools and standardized operations guarantee installation efficiency. Whether for precise installation in light scenarios or stable adaptation in medium-load scenarios, mastering its core installation logic and practical guidelines is essential to enable the retainer ring to truly act as a "precise enforcer" in internal hole retention, laying a solid foundation for the stable operation of various equipment.